
Making Shoji: Traditional Japanese Sliding Doors
5 Days, Some Skills Required
Summer 2026
August 17-21
Class size: 10
Cost: $1,000
Materials: $250

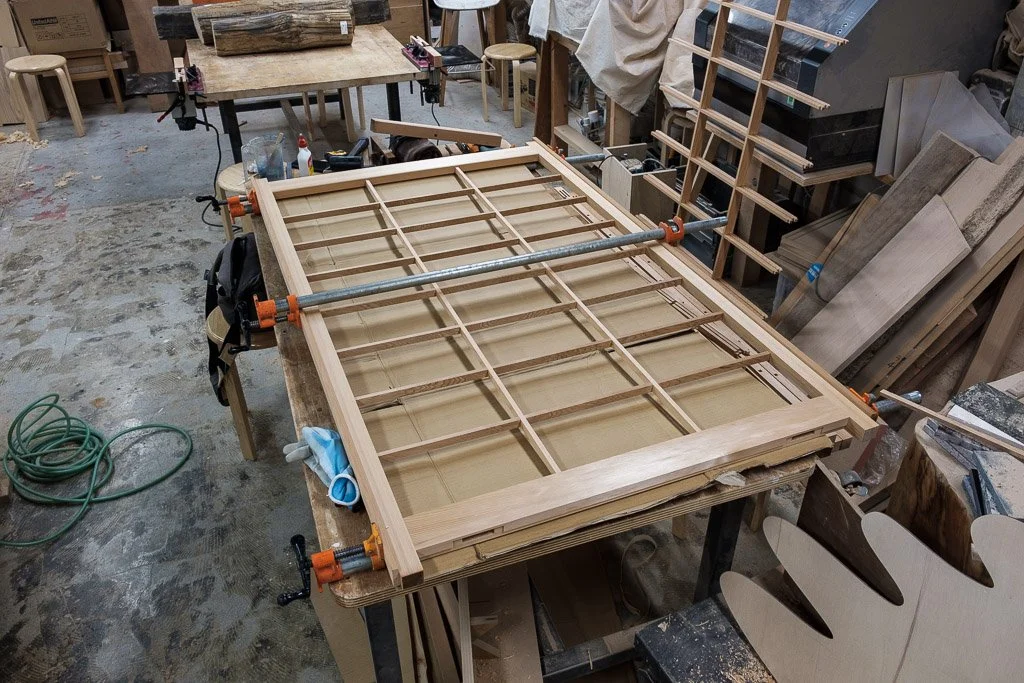
The elegant design and adaptability of Japanese shoji screens have made them timeless features of homes, temples, and shrines for centuries. The simplicity of their design is balanced by highly refined details, making them truly unique doors that can work well for both architecture as well as furniture work.
In this class, everyone will have the chance to build a scaled-down version of a shoji screen, and through the process learn about the tools, techniques, installation, and fitment of shoji screens. We will cover the most commonly used woods, grain selection for the most refined appearance, as well as standard proportions and joinery options.
At the beginning of the week, we will do an introduction to shoji (usage, design possibilities, joinery/construction), introduce the project, get oriented to the stock, and do the joinery layout. By the second day, we will begin cutting the joinery for shoji, and the third day will be spent finishing the shoji joinery cutting, hand planing, and assembling. The fourth day will be focused on paper application, beginning with cutting frame pieces, and on the last day of the week, we will be assembling the frame and fitting the shoji. While we will strive to assist all students in completing the project, some work may need to be finished at home depending on individual experience and pace.
Tools
Required
3mm, 6 mm, 12mm, 24mm Japanese chisels (chisels should already be setup)
Fine crosscut and rip Japanese saws, 210mm size is recommended (specific recommendation Nakaya 210mm fine rip and crosscut saws)
Tape measure or better yet a 36” ruler
150mm / 6” Square - machinist, combination, or tri-square are all okay
Marking gauge - any knife or wheel marking gauge should be fine, Japanese marking gauges are also great options
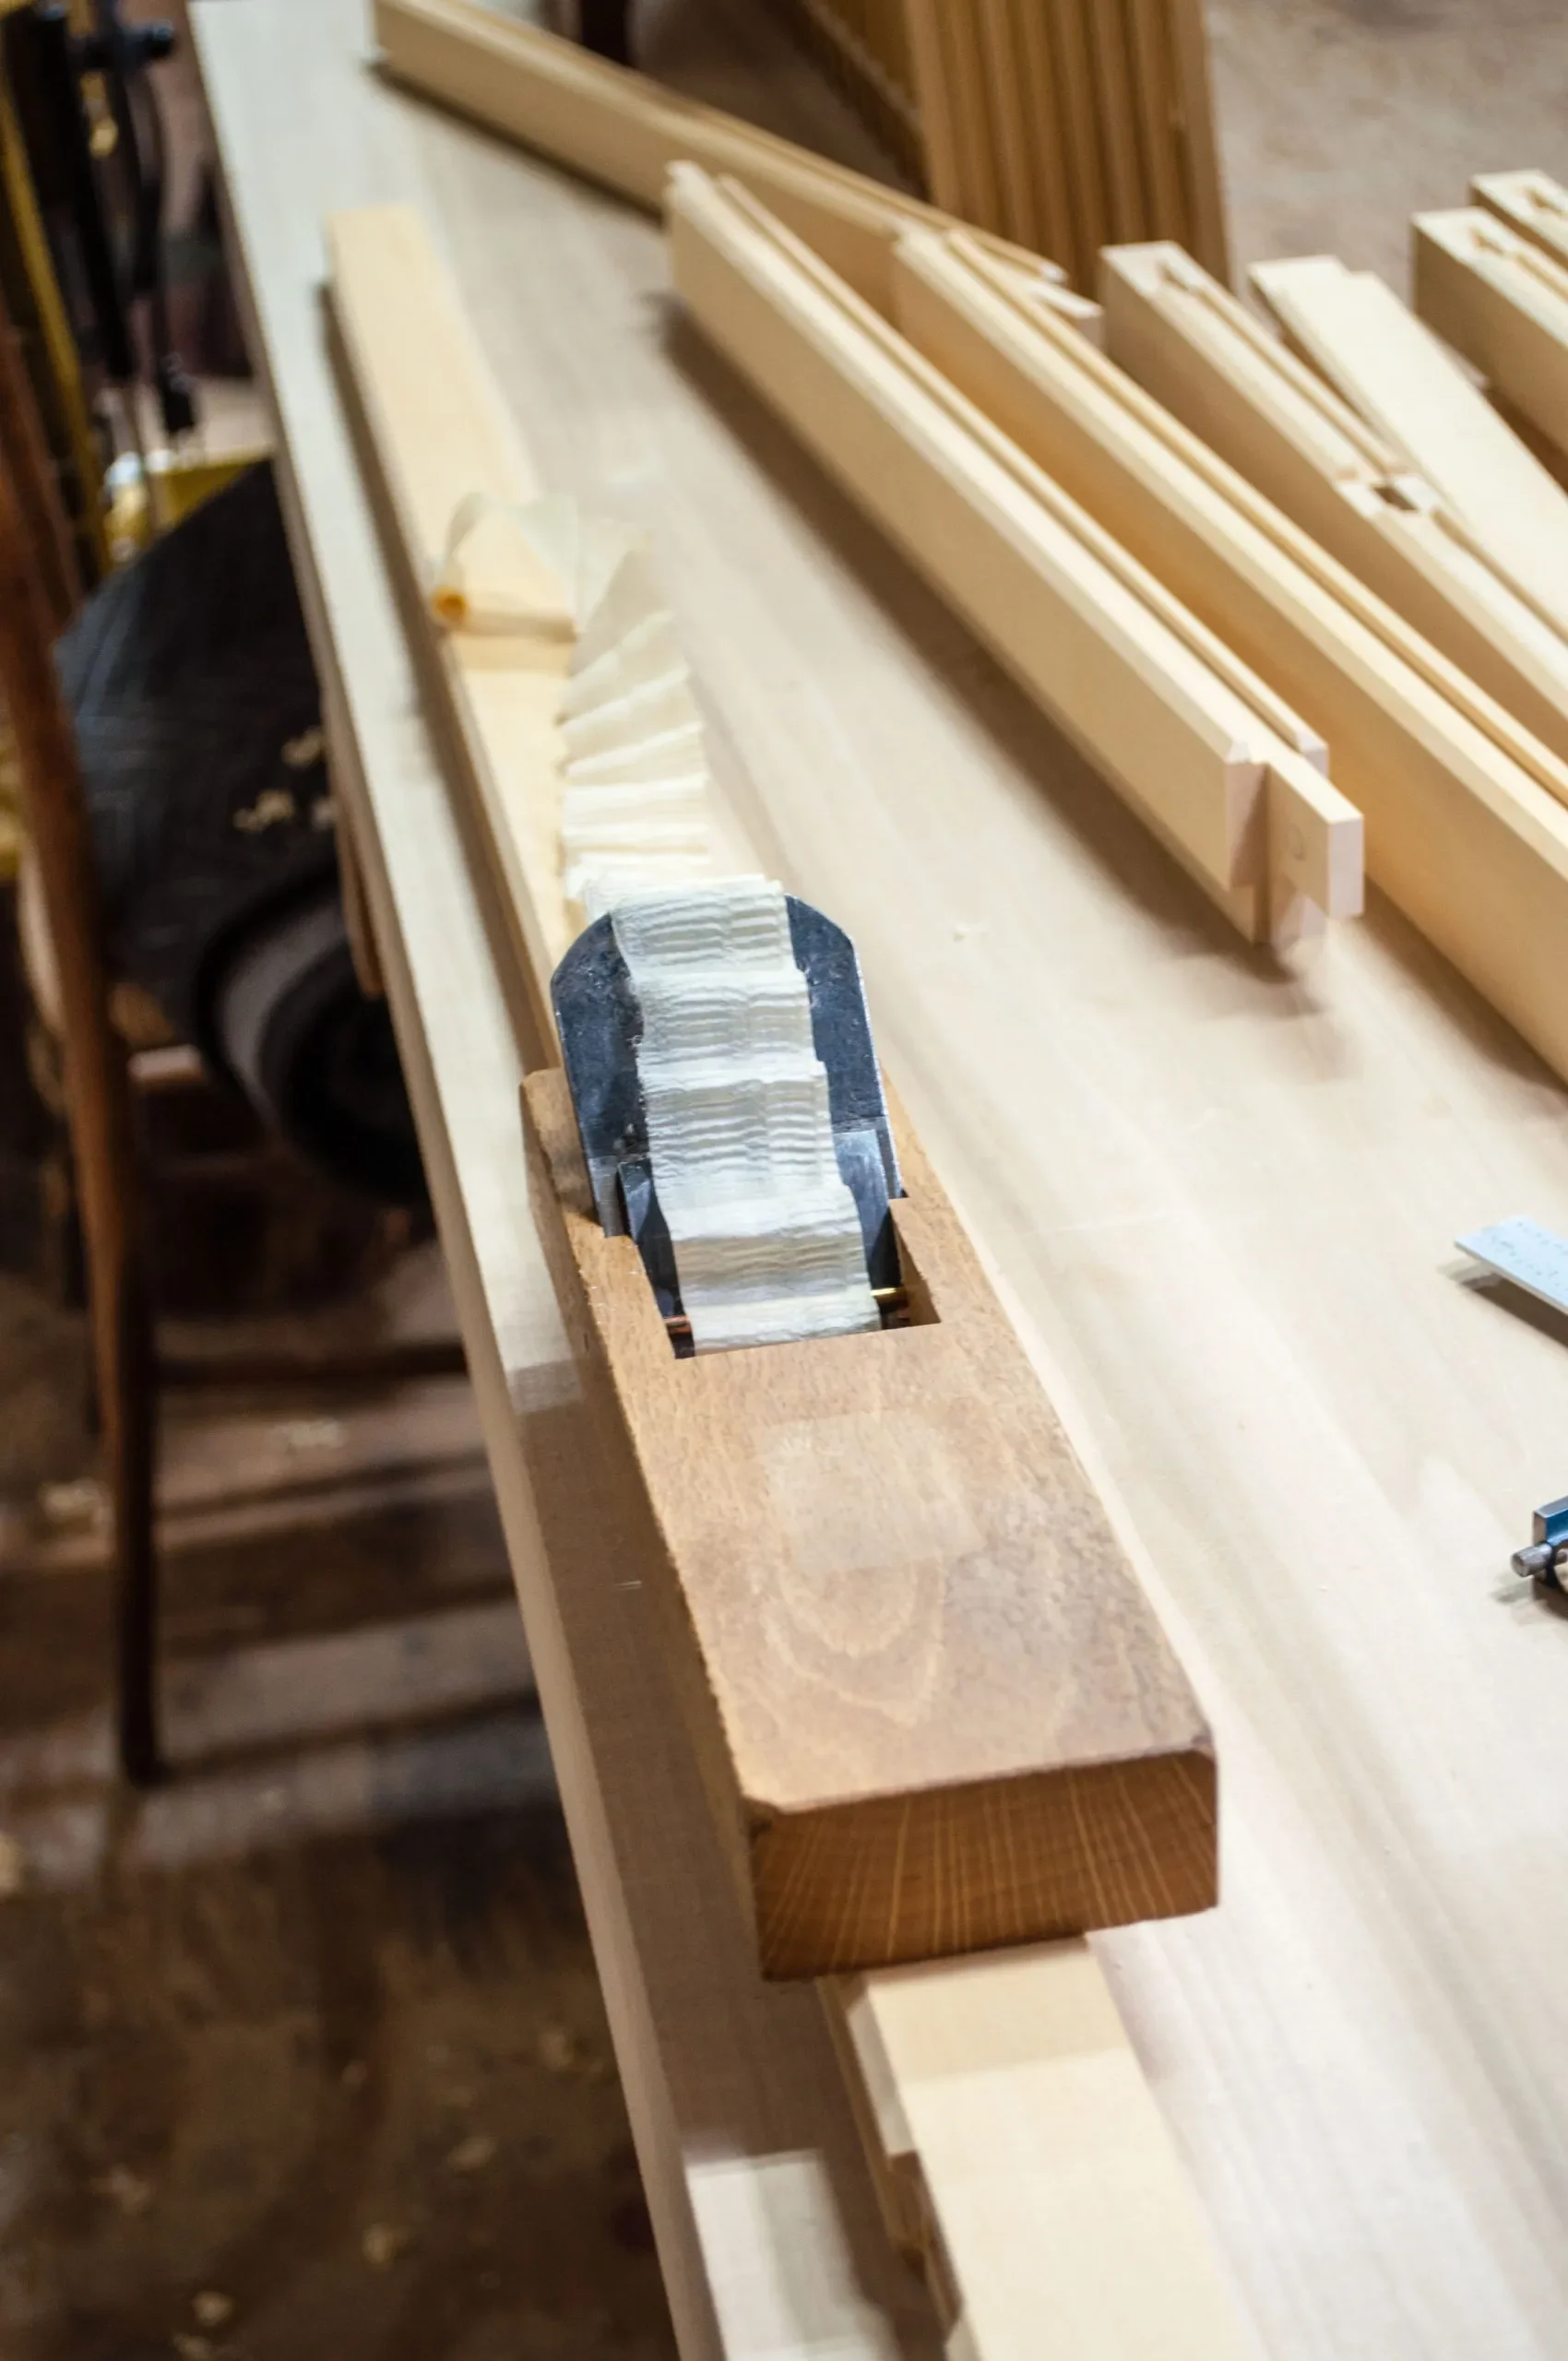
Kanna/Japanese hand plane (a plane around 48mm is recommended. If a Japanese plane, it should be setup and ready to go)
Sharpening wetstones: 1000 grit and 8000 grit is best (or combination stone 1000/6000)
Diamond lapping plate for flattening wetstones (400 grit)
Recommended
Marking knife
Chamfer plane (mentori kanna)
Shoulder plane
180 mm or larger Hatagane - Japanese brass bar clamps
Prerequisites
Some skills required. Some level of proficiency with hand tools and sharpening will be very beneficial. Jon can assist with tool use and sharpening a bit, but it will be a challenge for complete beginners to go through tool use and sharpening, and also complete the project. It is recommended that you have taken a tool setup workshop, such as our Japanese Tools workshop, or have equivalent experience. We will be jumping right into layout and joinery, so all tools need to be set up, sharp, and ready to go.
Class Information and Registration
Class runs 9:00 am to 5:00 pm Monday through Friday in Building 304 at Fort Worden. Map
Please read our What to Expect page for general information about the School.
Please also read our Registration Policy.
If the course is full, please sign up for the waitlist.
